Hello friends! I hope you are enjoying the Halloween inspiration series over on the
Tim Holtz blog! There have been so many amazing Halloween projects, that are sure to inspire you! Today I'm sharing a spooky home decor piece with you.
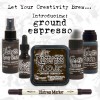
I absolutely love the new Halloween idea-ology, dies and stamps!
This is probably my most favorite Tim Holtz Halloween release ever!
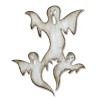
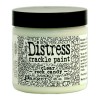
To start with, I applied picket fence distress paint to a sheet of grungeboard and dried with a heat tool. After that was thoroughly dried, I applied a layer of distress crackle paint and let air dry. It's very important not to apply heat to this step, you get much better crackle results with no heat. Then I applied hickory smoke distress paint with water to cracks on grungeboard and wiped away excess and dried with a heat tool. I used the new Tim Holtz Ghosts die and cut the trio of ghosts out of my distressed grungeboard. Then I sanded the surface of my ghost to expose some of that underlying grungeboard, then inked the edges with walnut stain distress ink and a blending tool.

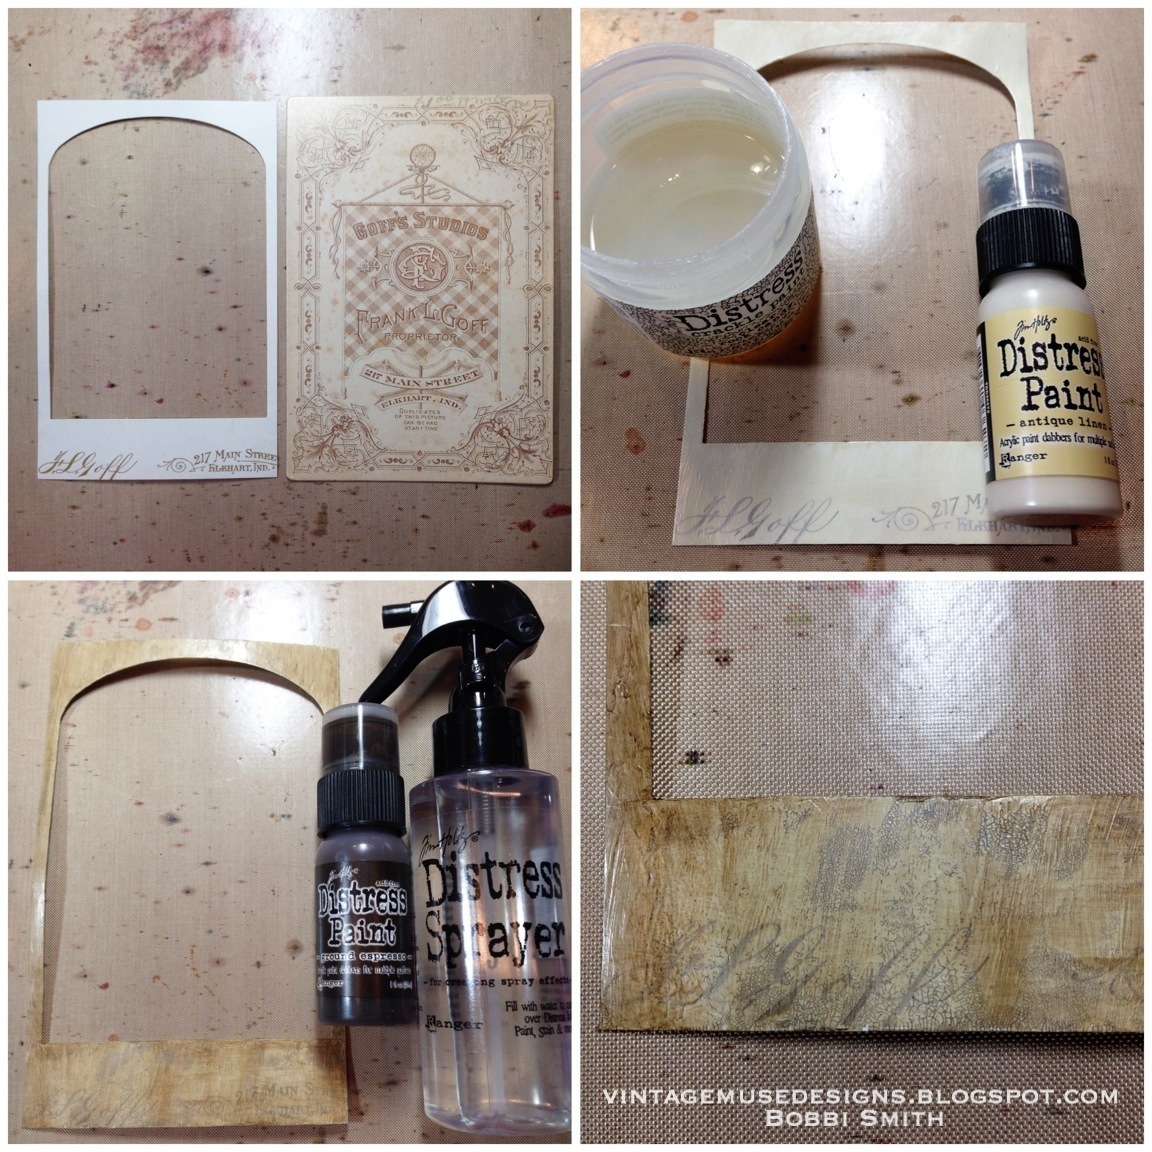
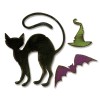
I wanted the ghost to appear to be floating out of a mirror, so I thought the ornate frame was a perfect pairing! I painted a piece of grungeboard with twisted citron distress paint and dried with a heat tool. Then I applied a layer of crackle paint and let air dry. For the cracks I applied peeled paint, hickory smoke and black soot distress paint with a little water and wiped off the excess with a towel. I diecut the ornate frame using the distressed green grungeboard and popped out the center and saved for another project. For the purple witches hat, I painted a scrap of grungeboard with seedless preserves distress paint and dried with a heat tool. I used the hocus pocus die to diecut the hat, then distressed with the sanding grip and inked the edges with walnut stain distress ink.

I wanted a silver mirror for the oval insert of the ornate frame. I painted some grungeboard using some silver dabber paint and dried with a heat tool. Then I went back and applied a layer of brushed pewter distress paint and dried with a heat tool. I die cut the ornate frame again and popped out the oval center. I distressed the oval with a sanding and inked the edges with walnut stain distress ink. Then I popped the silver oval into the green ornate frame and secured with a little adhesive on the back. I also diecut some tiny black bats using the movers and shapers Bats, Cross & Shield die set.

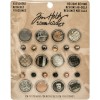
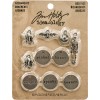
I distressed some ideology pieces with pumice stone and iced spruce distress paint and dried with the heat tool. Then came back in with a little mushroom alcohol ink to further distress the idea-ology pieces. I punched the shield insert from the regions beyond paper pad. I am loving the new Tim Holtz Sizzix punches that coordinate with the idea-ology pieces they're perfect! Then I attached some of the pieces to a swivel clasps to dangle off the bow later.
I inked up the edges of two 4 x 6 burlap panels with walnut stain distress ink and a blending tool. I attached both of the burlap panels together using two of the large idea-ology hinges that were distressed. I inked and distressed some of the papers from the regions beyond paper pad and adhered to the left burlap panel. Then I attached some dyed crinkle ribbon and tied in a bow off to the side.
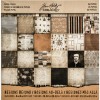
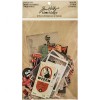
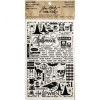
I used various patterns of paper from the regions beyond paper pad and the frightful ephemera pack. I inked the edges with walnut stain distress ink in a blending tool, then splattered a little water with the distress sprayer and dried with a heat tool. This step is subtle but really adds a lot to the overall project. I ended up using most of the selected paper pieces, but saved a few for another project.
I attached some curiosities remnant rubs to one of the labels, then further distressed the edges with a bone folder of all of the paper pieces. I attached some of my paper pieces to the left side of the burlap panel with adhesive. Then I attached the ornate frame, trio of ghost and tiny bats with foam squares.
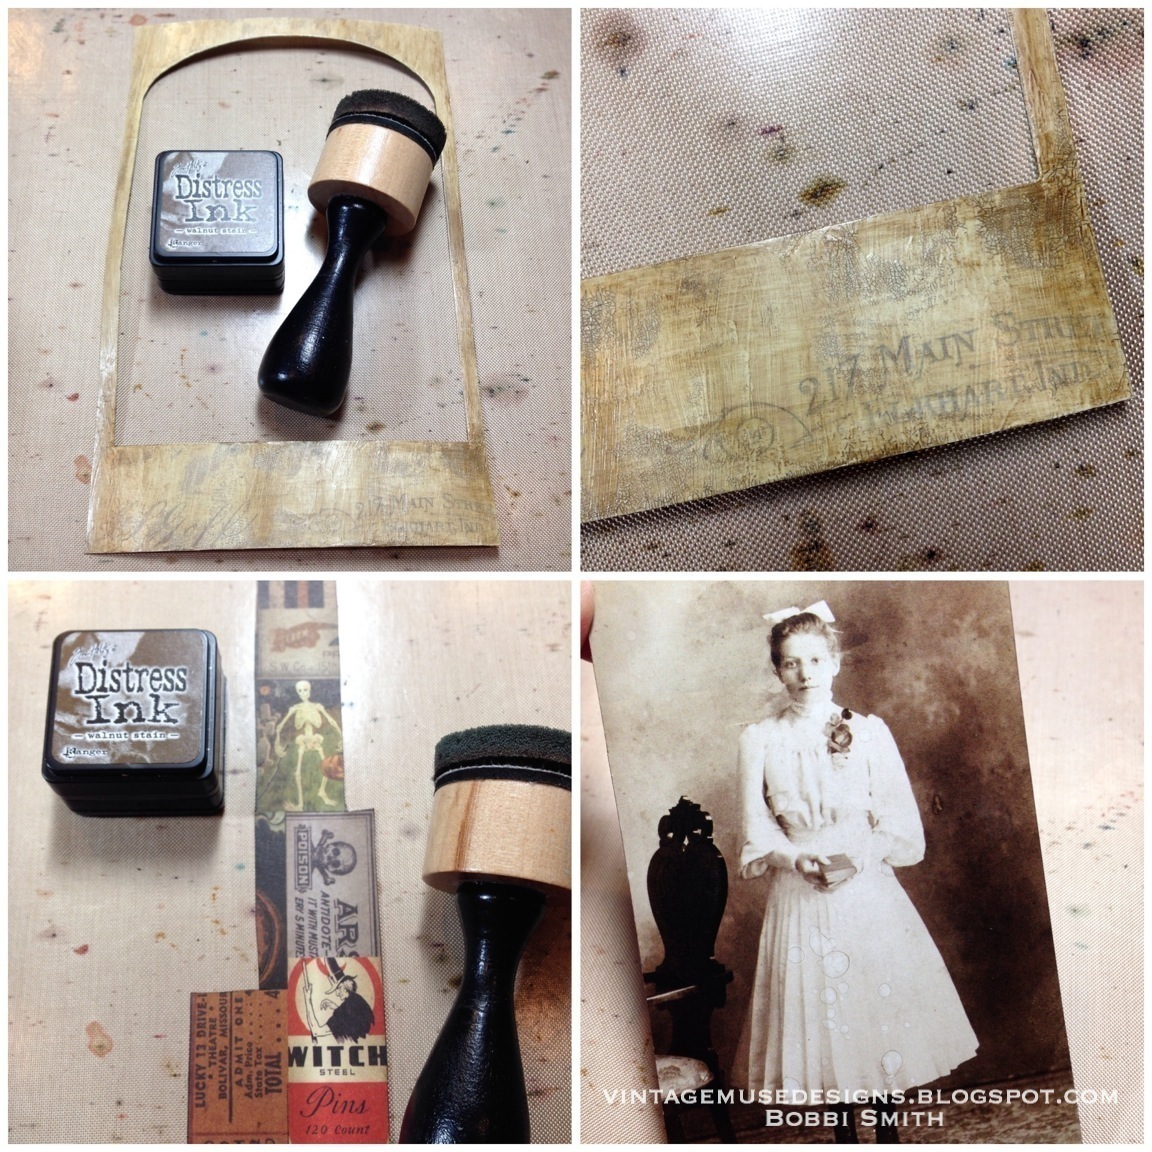
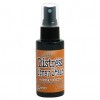
I took a cabinet card apart and trimmed down the frame portion just a little to fit my burlap panel. I'm going to save the backing for another project. I painted my cabinet card frame with antique linen distress paint and a little distress crackle. After it was thoroughly dried, I came back and applied a little ground espresso distress paint with water and wiped off excess. Then dried with a heat tool. It really brings those great cracks out!
I applied walnut stain distress ink with a blending tool to the edges of the cabinet card and distressed the edges with the bone folder. I chose a strip of collage paper from the regions beyond paper pad to pair with my lost relative card. I shaded the paper strip and lost relative card with walnut stain distress ink and splattered with water and dried with a heat tool.
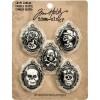
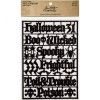
I secured the lost relative card and paper strip to the back of my cabinet card, then attached to the right side of the burlap panel. Then I painted the "spooky" wicked alpha parts with twisted citron and seedless preserves distressed paint and attached to the bottom of my cabinet card. I also attached the cute little witches hat and the 31 brad. Then to finish it off, I attached the skeleton cameo to the bottom of the ornate frame and the dangling swivel class to the bow.
I hope you enjoyed my Spooky Hinged Double Burlap Panel, it was so much fun to create! Thanks so much for stopping by and have a wonderful day! xx